The water lily emerges as the undisputed star of home water gardening. Learn how to grow water lilies of your own!
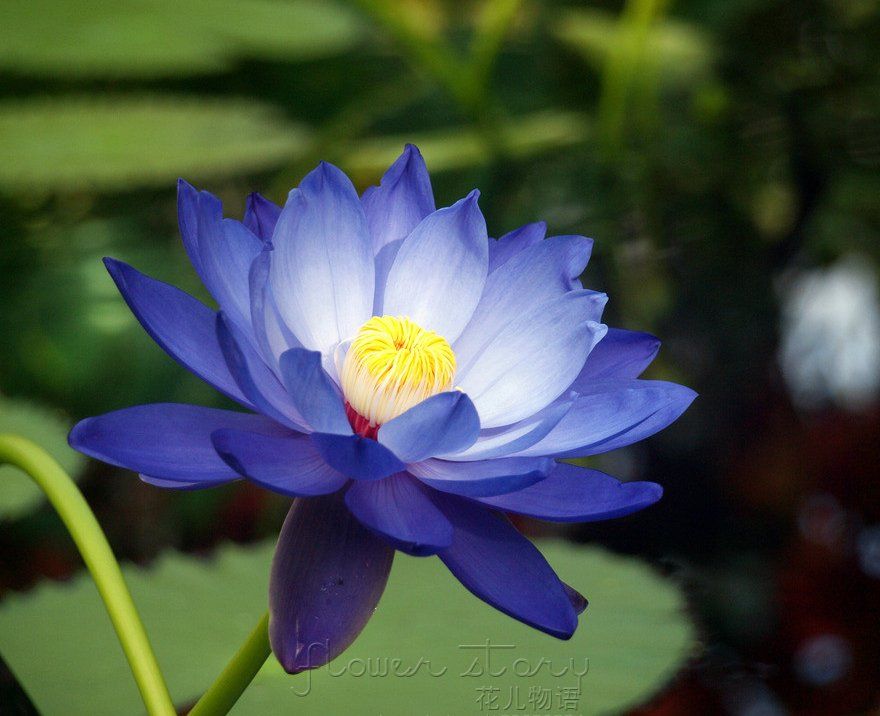
The water lily (Nymphaea) has been casting its spell on humans for thousands of years, enchanting even the earliest civilizations. This mysterious beauty rises from the deep, leaves floating serenely on the surface, exquisite blossoms appearing as if by magic. Once the province of grand palaces and public gardens, the water lily is finding its way to the home garden.
While water lilies appear delicate, don't let their exotic aura fool you. These flowers are as tough as they are beautiful. Water lilies grow well in any USDA hardiness zone.
All About Water Lilies
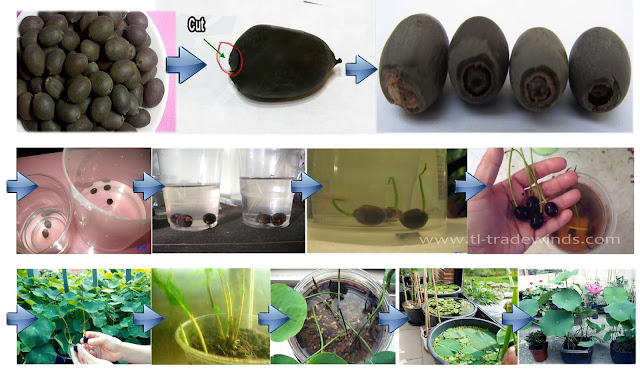
Water lilies can be grown in a tub on the patio or in ponds of any size. They grow from tubers planted in pots beneath the water and send up stems with rounded leaves and star-shaped blossoms that float on the surface. There are many different types of water lilies to choose from.
Hardy lilies are dependable and easy to plant—a good choice for the beginner. Daytime bloomers, they blossom in the morning and close after sunset, lasting three or four days before sinking beneath the surface. The flowers appear from spring to fall, blooming in all colours except blues and purples. Hardy water lilies go dormant in winter and may be left in the water or stored. Tropical water lilies, which bloom in more exotic colours, take a little more care but are well worth the effort. Their flowers are larger and more prolific. Night-blooming varieties have vibrant, almost electric colours. Tropical water lilies require a water temperature above 70 degrees F, and tubers must be removed from the pond in winter.
How to Plant Hardy Water Lilies
Whether you are planting in a container or in a pond, the water lily planting technique is the same. If you’re new to water lilies or short on space, try growing them in a container—it will feel more manageable than an entire pond of water lilies. Any type of water lily can be grown in a pot because they will only grow to be the size of the container they are in.
Editor's Tip: Keep aquatic plants contained in ponds and pots. In the wild, some can be invasive and compete with native plants.

Step 1: Select a Container
Use a container that is wide and shallow. A good size is 12 x 18 inches wide by 6 x 10 inches deep. The tuber, which is similar to the rhizome of an iris, grows horizontally. Containers may or may not have holes. If there are drainage holes, line the pot with burlap to keep the soil in the container. Soil that leaches out can cloud the water in your pond.

Step 2: Fill Container With Soil
Use a heavy soil intended for use in the garden, not a fluffy potting soil that will float out of the container. Avoid soil mixes with perlite, vermiculite, or peat for the same reason. Enrich the soil with aquatic fertilizer pellets made especially for the task. Push them into the soil before you plant.

Step 3: Clean Up Plants
Remove old leaves and thick, fleshy old roots—then, more of the plant's energy can go toward growing new roots, leaves, stems, and blooms. Leave only emerging leaves and buds and the newer, hair like roots.

Step 4: Plant Tubers
Plant the tuber against the side of the pot, with the growing tip pointing upward—about 45 degrees—and toward the centre of the pot.


Step 6: Lower Plant into Water
The planted pot should be lowered into the pond at an angle to allow air to escape. Set the base of the pot 12 x 18 inches deep. The leaves will float to the surface. If the pond is deeper than 18 inches and doesn't have built-in planting ledges, support the pot.